A practical, RD-written guide to storing meal prep: fridge and freezer timelines, smart container choices, cooling rules, thawing, and reheating tips that ke...
Platepathy
Green Rings on Hard-Boiled Eggs (and Easy Peels for Meal Prep)
That green-gray yolk ring is harmless, but it’s a sign your eggs cooked too hot or too long. Learn the simple timing and ice-bath method that keeps yolks bright, plus a peeling trick that still works days later.

Elena Rossi
Elena Rossi writes Platepathy's meal planning guides, translating nutrition research into approachable, delicious meal plans for real, busy lives.
Published November 17, 2026
Hard-boiled eggs are one of my forever “busy-life” proteins. Cheap, fast, and they turn a chaotic morning into something that looks like I planned ahead. Until you crack one open and see it: that gray-green ring around the yolk. Or worse, you try to peel a whole batch for the week and take half the egg white with the shell.
Let’s fix both problems with a little kitchen science and a very forgiving routine. No rigid rules, no fancy gadgets. Just eggs you actually want to eat on day one and day five.
Why eggs get a green ring
The green-gray ring is a harmless chemical reaction, not a sign your eggs are “bad.” It happens when:
- Sulfur in the egg white breaks down into hydrogen sulfide as the egg heats.
- That hydrogen sulfide reacts with iron in the yolk.
- The result is iron sulfide, which shows up as a green-gray layer at the yolk’s edge.
This reaction speeds up when eggs are cooked too hot, too long, or left sitting in hot water after cooking. In other words, the ring is basically your egg telling you it had a slightly stressful spa day.
Good news: The ring does not make the egg unsafe. It can taste a little more “eggy” and the texture can skew dry, but it’s fine to eat.
How to prevent the green ring
The goal is simple: cook the eggs through, then cool them down quickly so the iron-and-sulfur reaction does not keep developing.
My go-to batch method
- Place eggs in a saucepan in one layer (or as close as you can). Do not pack them in tight. Overcrowding makes timing less consistent and increases bumping and cracking.
- Cover with cool water by about 1 inch.
- Bring to a gentle boil over medium-high heat. Think small, steady bubbles, not a raging, rolling boil.
- Once it hits that gentle boil, turn off the heat, cover, and set a timer:
- 10 minutes for a yolk that’s set but still a little creamy in the center
- 11 minutes for a fully set, classic hard-boiled yolk
- 12 minutes if you like them very firm (this is where rings become more likely if your pot runs hot)
Quick reality check: Egg size, pot material, how vigorous the boil was, and altitude can all shift timing. If you use jumbo eggs or live at higher altitude, plan to adjust by 1 to 2 minutes after your first test batch.
If you notice your eggs crack more when starting from the fridge, let them sit on the counter for 10 minutes while your water heats. I still like fridge-cold eggs for consistency, but kitchens are very personal ecosystems.
Then comes the step that makes all the difference:
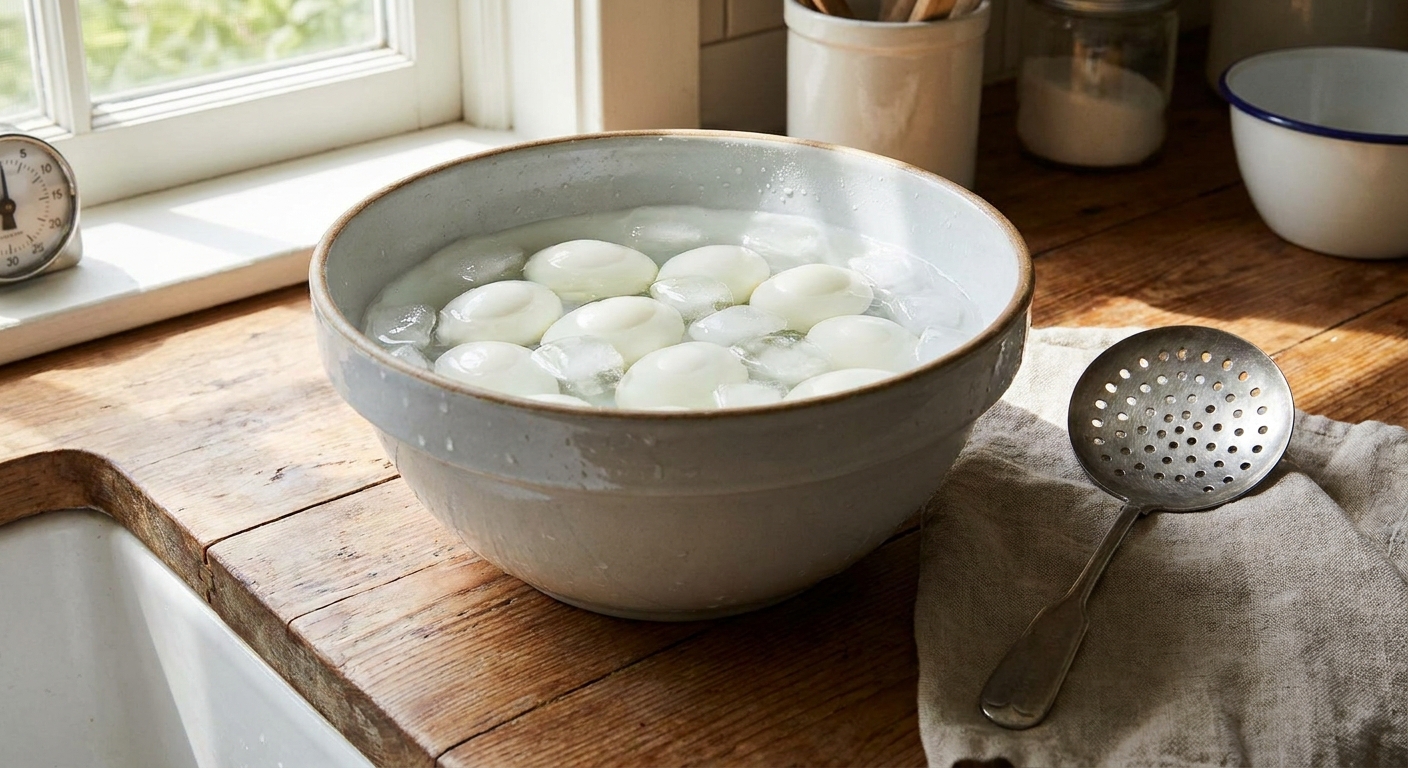
Use an ice bath
- While eggs sit, fill a large bowl with ice and cold water.
- When the timer goes off, use a slotted spoon to move eggs straight into the ice bath.
- Let them chill for at least 10 minutes.
That rapid cooling stops carryover cooking, helps prevent the ring, and sets you up for easier peeling.
Small safety note: Once they are cooled, get them into the fridge within about 2 hours of cooking (sooner is better).
How to peel eggs easily
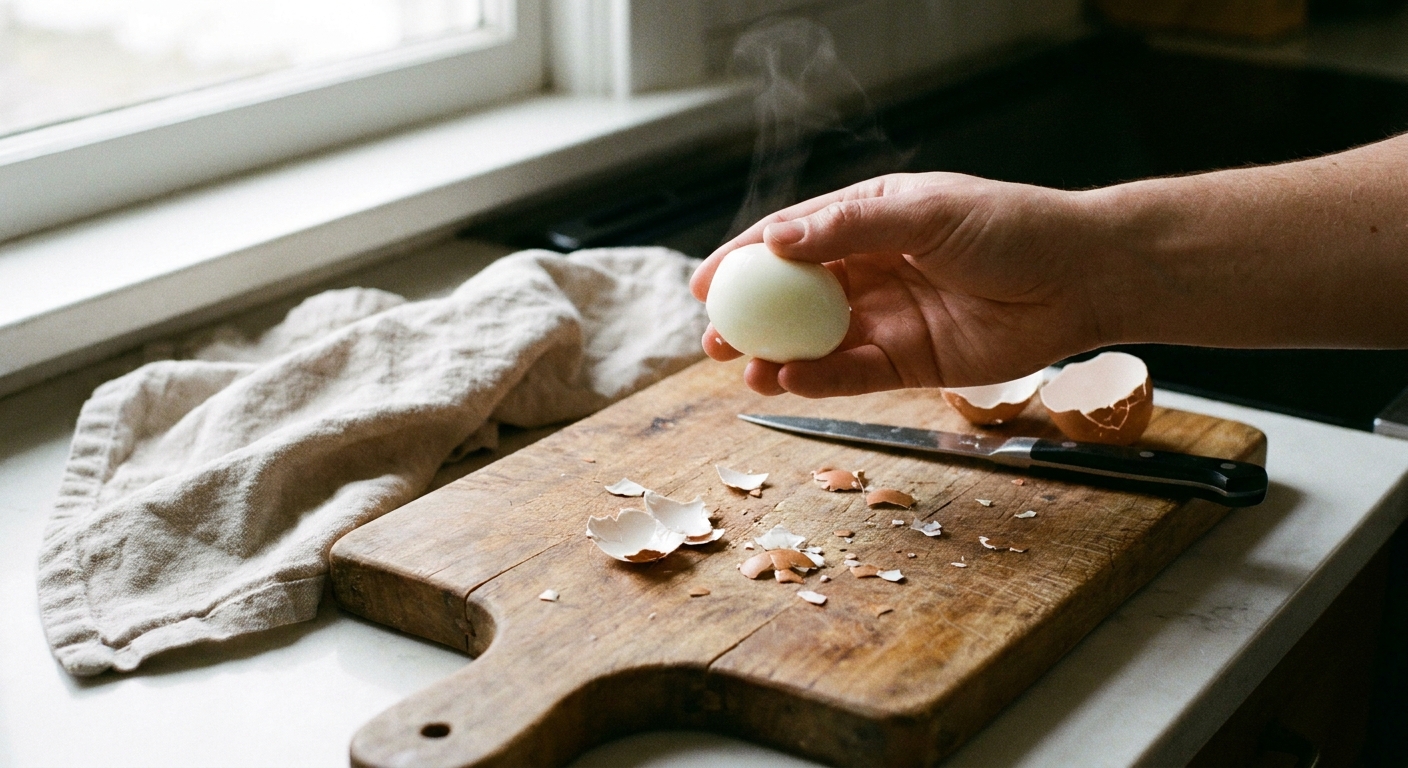
Here’s the truth: eggs can be easier to peel when they’re not ultra-fresh. But for meal prep, you’re often working with whatever carton you grabbed. This method is reliable either way and still works when the eggs have been in the fridge a few days.
Crack, roll, and rinse
- Peel under a thin stream of cool running water or in a bowl of water. Water gets under the membrane and helps lift the shell.
- Crack the egg all over (gently) by tapping it on the counter.
- Roll it under your palm with light pressure to loosen the shell into lots of small cracks.
- Start peeling from the wider end where the air pocket usually is. That’s your easiest entry point.
- Slide your thumb under the membrane (that thin layer between shell and white) and try to peel in larger sheets.
Meal prep tip: I usually peel eggs when they are fully chilled because it keeps the whites firm and less prone to tearing for me. Some people prefer peeling while they are still a little warm, so if you have a method you love, keep it. Either way, water and starting at the air pocket are the cheat codes.
If eggs are stubborn
- Soak cracked eggs in water for 2 to 3 minutes before peeling. This is my save when I’m running late and the shells are clinging.
- Use a spoon. After cracking, slip a teaspoon under the shell and membrane, then rotate the spoon around the egg to lift the shell with less gouging.
If an egg cracks while cooking: a hairline crack is usually fine. If one cracks and leaks a lot of white into the water, I treat it as a “eat it today” egg, not a weeklong storage egg.
Storage tips
For a weekly breakfast and snack plan, storage is where eggs either stay convenient or become that sad, sulfur-smelling container you avoid.
Cool first, then refrigerate
Always cool eggs in an ice bath before refrigerating. Putting hot eggs straight into the fridge raises the container temperature and increases condensation, which can affect texture and smell.
Unpeeled keeps best
- Store eggs unpeeled in a covered container in the fridge.
- Aim to eat them within 7 days of cooking.
Unpeeled eggs are less likely to dry out and less likely to pick up fridge odors.
If you peel them all at once
I get it. Sometimes the whole point is grab-and-go.
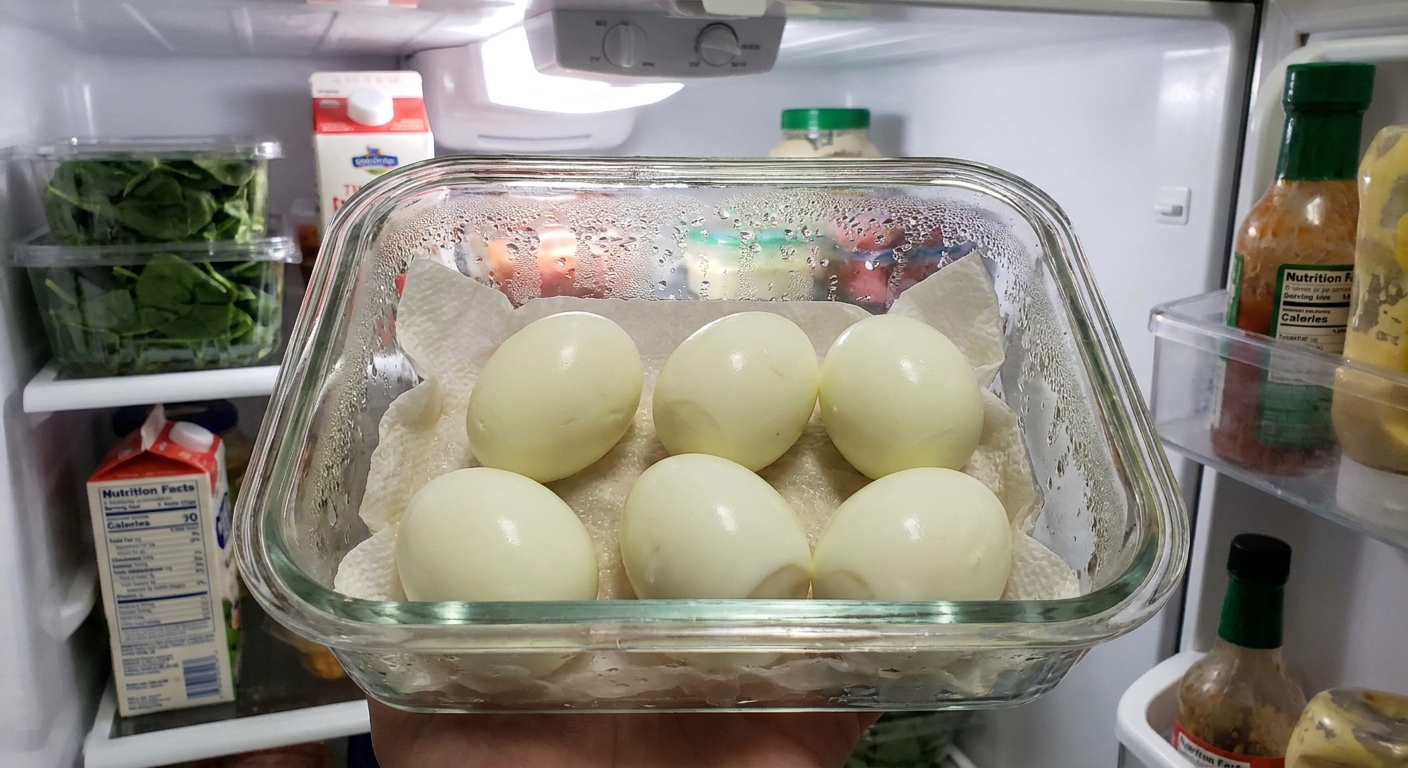
- Store peeled eggs in an airtight container.
- Add a paper towel to absorb moisture, and swap it if it gets damp.
- If they seem a bit dry, you can store them with a small amount of clean water covering the eggs, changing the water daily. This helps prevent rubbery edges.
One more practical note: Eggs are odor sponges. A tight lid matters.
Meal prep routine
When I was a project manager, I tried to “optimize” everything, including food. It always backfired because life is not a perfectly managed calendar. So here’s my gentle, realistic egg routine:
- Cook a batch while you’re already in the kitchen, like when you’re chopping veggies or packing lunches.
- Cool in an ice bath (set a timer so you do not forget).
- Store unpeeled unless you truly need peel-and-go.
- Peel 2 to 4 at a time for the next day or two. It takes five minutes and saves you from the “peeled egg funk” by day five.
This approach keeps eggs easy to peel, keeps the texture nicer, and keeps you from doing a huge annoying task all at once.
Quick FAQ
Is the green ring safe to eat?
Yes. It’s a normal reaction between sulfur (white) and iron (yolk). It can be a little less appetizing and slightly drier, but it’s not harmful.
Do older eggs peel better?
Often, yes. As eggs age, the pH of the white increases and the membrane can release more easily. But you can still get easy peels with the gentle-boil-and-ice-bath method even with newer eggs.
Cold start or boiling water start?
For meal prep, I like starting in cool water and using the cover-and-rest method after reaching a boil. It’s forgiving, reduces overcooking, and pairs well with an immediate ice bath.
Why are my eggs still hard to peel?
Common culprits are very fresh eggs, eggs that did not cool long enough, or peeling when the egg is warm (for some people). Crack, soak briefly in water, and try the spoon method for stubborn shells.
My Platepathy bottom line
If you’re leaning on eggs as an affordable weekly protein, you deserve a method that works on a Tuesday morning when you’re half awake. Keep the heat gentle, do not overcook, and cool fast in an ice bath. From there, peeling is mostly about water, patience, and starting at the air pocket.
And if you do get a green ring once in a while, that’s not a failure. That’s just an egg that stayed in the hot tub a little too long.