A practical, RD-written guide to storing meal prep: fridge and freezer timelines, smart container choices, cooling rules, thawing, and reheating tips that ke...
Platepathy
How to Keep Meal-Prep Salads Crisp All Week
Stop midweek wilt. Learn why greens get soggy and the simple packing order that keeps meal-prep salads crisp all week, plus the best veggies to prep ahead.

Elena Rossi
Elena Rossi writes Platepathy's meal planning guides, translating nutrition research into approachable, delicious meal plans for real, busy lives.
Published November 18, 2026
I learned the hard way that “I’ll just make salads for lunch this week” can turn into a sad Tuesday surprise: limp greens, watery cucumbers, and dressing that somehow tastes like it has been through a washing machine.
The good news is you do not need fancier greens or more willpower. You need a moisture strategy. Crisp salads are mostly about controlling water: where it comes from, where it sits, and how long it has contact with delicate leaves.
Why greens wilt midweek
In real-life lunch prep, “wilt” is usually a mix of water imbalance, time, and a little physical damage. Once leaves get bruised or stay damp too long, they lose that snappy structure and start heading toward soft, slippery, and sad.
Most of the moisture trouble comes from four places:
- Dressing contact. Acidic and salty dressings (plus time) soften greens quickly, especially on tender leaves like spring mix or butter lettuce. Oil is not the main culprit, but it can coat leaves and help moisture hang around.
- Residual water on leaves. Even “mostly dry” greens keep shedding droplets in the fridge. That water collects at the bottom of containers and turns into a tiny salad swamp.
- High-water vegetables. Cucumbers, tomatoes, and cut fruit release liquid as they sit. Salted ingredients do it even faster.
- Temperature swings and crushing. Warm ingredients, frequent fridge-door openings, and heavy toppings sitting on top of leaves all speed up breakdown.
The goal is not to eliminate moisture. Salads should be juicy and flavorful. The goal is to keep moisture away from the greens until you are ready to eat.
The packing method that keeps salads crisp
This is the method I use when I want Monday-through-Friday lunches that still feel fresh. The secret is simple: prep the sturdy stuff on Sunday, then save the truly delicate add-ins for later in the week.
Step 1: Dry your leaves like you mean it
If your greens are damp, everything else is an uphill battle.
- Use a salad spinner if you have one. Spin, pour off water, then spin again.
- Finish with a towel rest. Lay greens on a clean kitchen towel or paper towels for 10 to 15 minutes. This last bit is what takes you from “fine” to “Friday-crisp.”
- Store greens with a paper towel buffer. If you are prepping a big bin of greens, line the container with a dry towel or paper towel. Swap it midweek if it is visibly damp.
Step 2: Choose sturdier greens for later days
Not all greens are built for meal prep. For all-week crispness, think “thicker, darker, more structural.”
- Best for day 1 to 4: romaine hearts, kale (especially lacinato), shredded cabbage, Brussels sprout shreds, escarole, radicchio.
- Good for day 1 to 3: spinach (baby spinach is more fragile), arugula, mixed greens with sturdier leaves.
- Most fragile: butter lettuce, spring mix heavy on tender leaves, delicate herbs used as a base.
My Platepathy rule (because my brain loves a rule): match your greens to your timeline. Butter lettuce is a Monday and Tuesday move, not a Friday plan.
Step 3: Keep dressing separate, or put it on the bottom with a barrier
Two reliable options:
- Best texture: Pack dressing in a small leakproof cup and add right before eating.
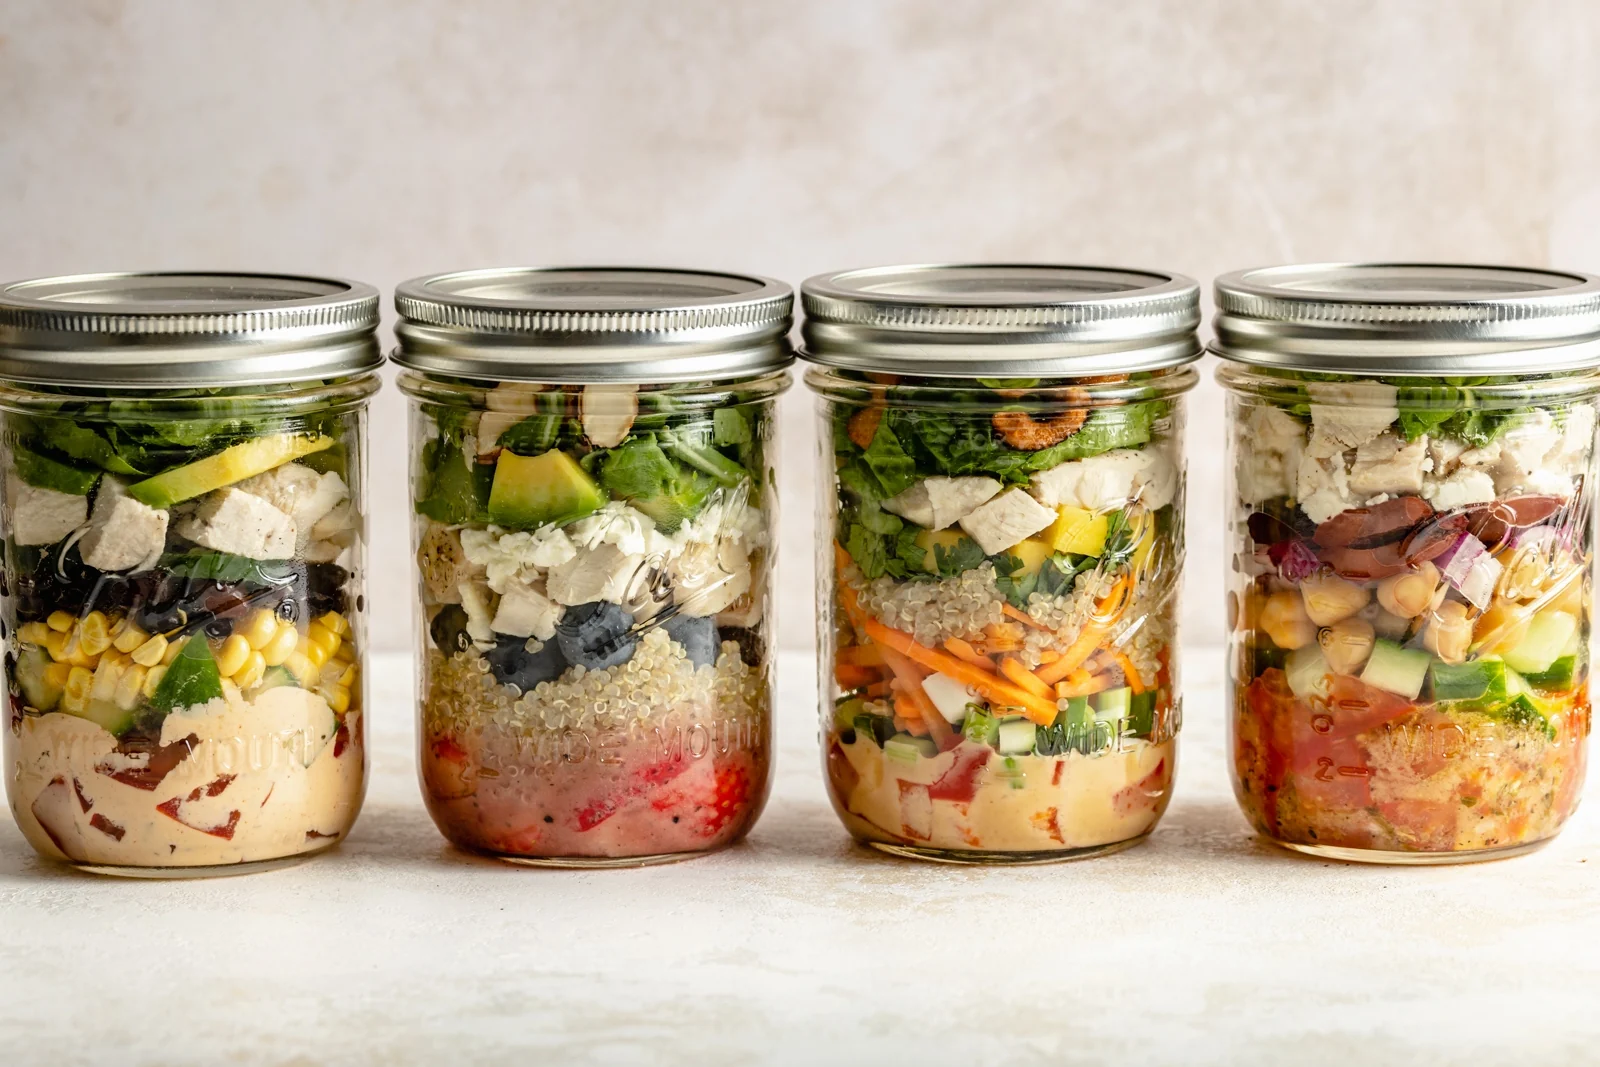
- Best convenience: Put dressing in the bottom of the container or jar, then add a “wet barrier” layer (like chickpeas or sturdy chopped veggies) before any greens touch it.
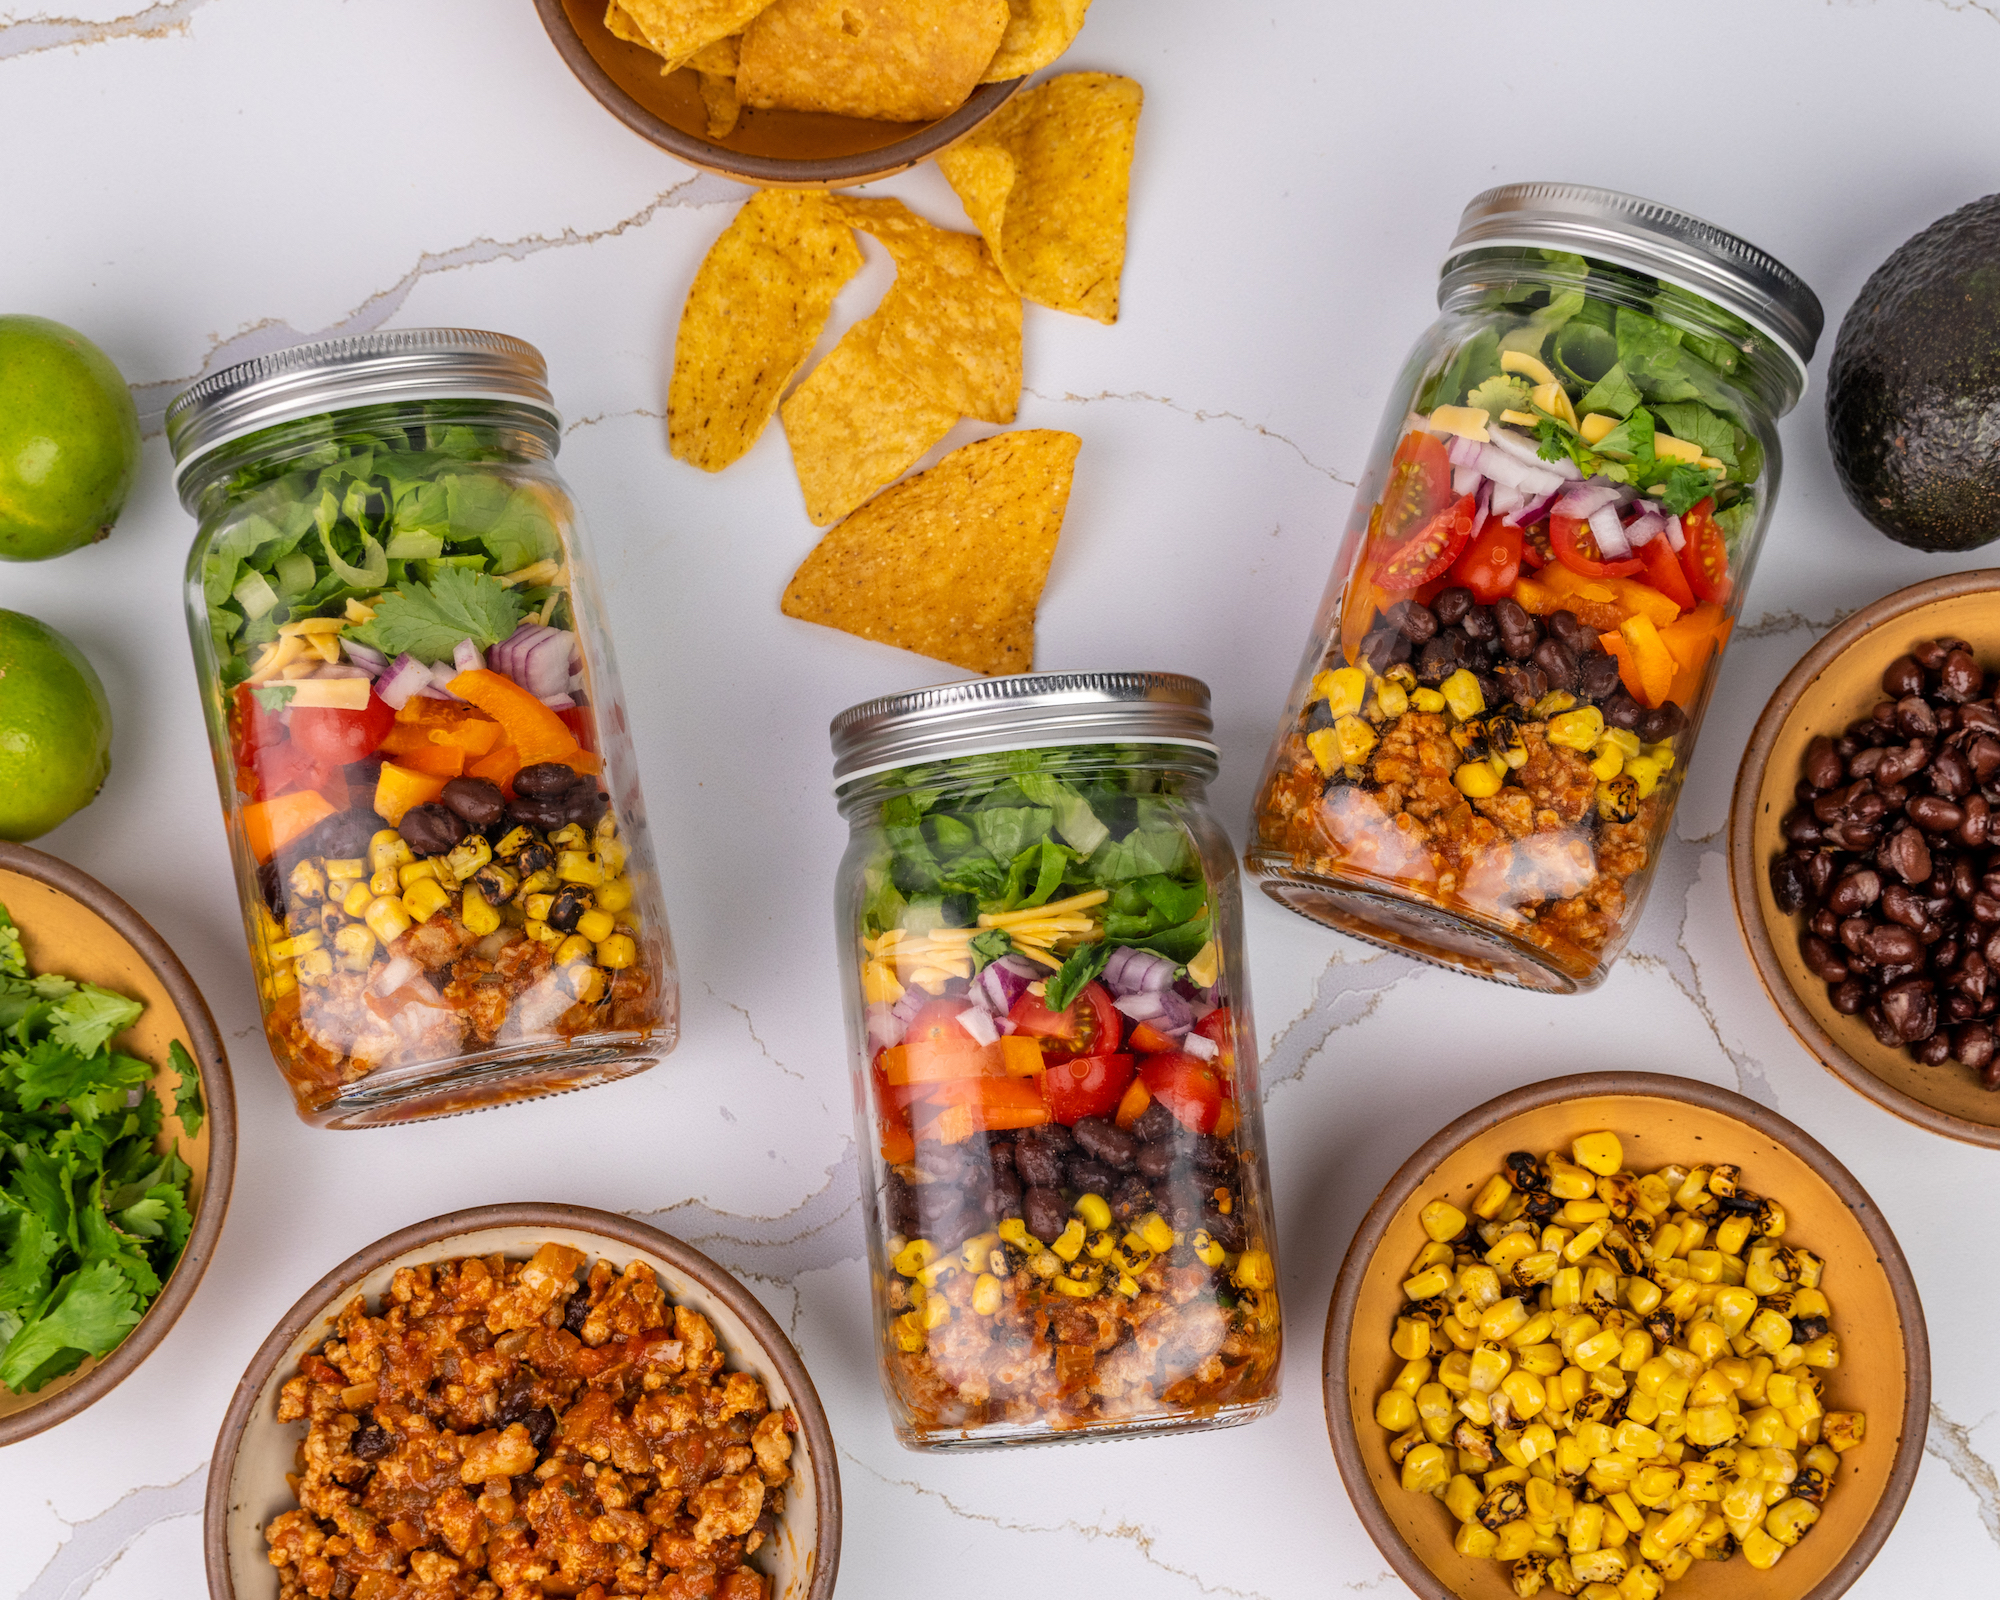
If you are using jars, the “dressing at the bottom” method works beautifully, but only if the greens stay physically separated until you shake and eat.
Step 4: Layer in this order
Think: wettest on the bottom, driest and most delicate on top.
- Dressing (or skip if using a side cup)
- Sturdy, non-leafy vegetables that can handle moisture: carrots, bell peppers, broccoli, cauliflower, radishes, snap peas
- Proteins and hearty add-ins: chickpeas, lentils, chicken, tuna, tofu, hard-boiled eggs (see note below), cooked grains
- High-water items in a protected spot: cucumbers, tomatoes, fruit, pickles (keep them away from greens with another barrier layer if possible)
- Greens (as dry as possible)
- Crunch toppers kept dry: nuts, seeds, croutons, tortilla strips
- Cheese (best near the top so it stays firm and does not sweat)
Quick note on eggs: Hard-boiled eggs can make everything in a container smell like “egg” if they sit together for days. If that bugs you, pack them separately or keep them in-shell until the day you eat.
Step 5: Try not to trap extra humidity
- Cool cooked ingredients completely before packing. Warm quinoa or chicken creates condensation, which rains onto your greens.
- Do not overfill. Crushed leaves bruise faster and leak more water.
- Store upright. Especially for jars, upright storage keeps wet layers from creeping into the greens.
Step 6: Make Friday realistic
If you prep on Sunday and want a great Friday salad, keep Friday’s greens and any delicate add-ins (avocado, cut apples, herbs, crunchy toppings) separate until Thursday night or Friday morning. The sturdy chopped vegetables and proteins can be done earlier, but the fragile pieces are where Friday gets won or lost.
Food safety note: Most cooked proteins and peeled hard-boiled eggs are best within 3 to 4 days in the refrigerator. If you are prepping for Friday, plan cooked chicken and similar items for earlier in the week, or use shelf-stable or plant options later (beans, lentils, tofu), or prep a second small batch midweek.
Veggies that stay crunchy (and ones that do not)
Here is the texture-focused guide I wish someone had handed me back in my project-manager era.
Crisp winners for day 1 to 4
These tend to hold their crunch when chopped and refrigerated:
- Carrots (sticks, ribbons, grated)
- Bell peppers
- Radishes
- Snap peas
- Broccoli and cauliflower florets
- Red cabbage and green cabbage (shredded is basically meal-prep armor)
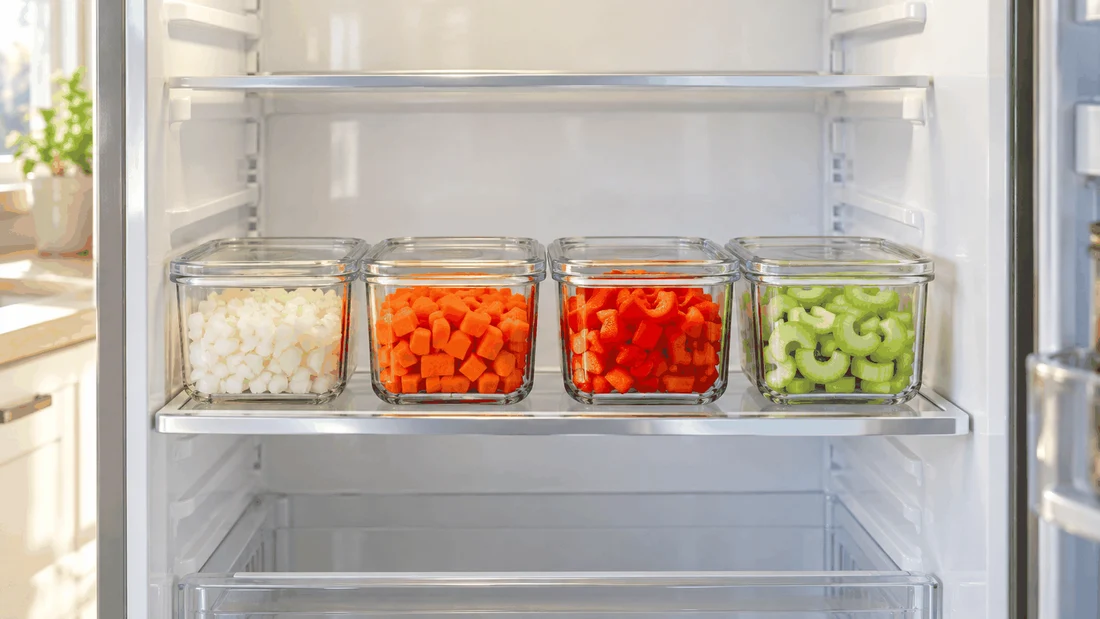
- Celery (best if stored in a very dry container)
Usually fine, but keep away from greens
These hold up reasonably well, but they release water or soften over time. Layer them low, or pack separately if you are picky about texture:
- Cucumbers (especially sliced)
- Cherry tomatoes (whole or halved, halved gets softer faster)
- Zucchini (raw slices can weep)
- Olives and pickled vegetables (great flavor, but briny moisture travels)
- Roasted beets (they “bleed” moisture and color)
Cut these the day you eat
If your goal is truly crisp, these are the ones I recommend doing fresh or packing whole:
- Avocado (browning plus softening)
- Apples and pears (cut fresh, or toss in lemon and keep separate)
- Stone fruit (peaches, nectarines) once cut gets juicy fast
- Fresh herbs when used in big amounts (add at the end so they stay perky)
- Croutons and crunchy toppings (always keep dry until eating)
Containers that help
You can make this work with what you already have. A few features make crispness easier:
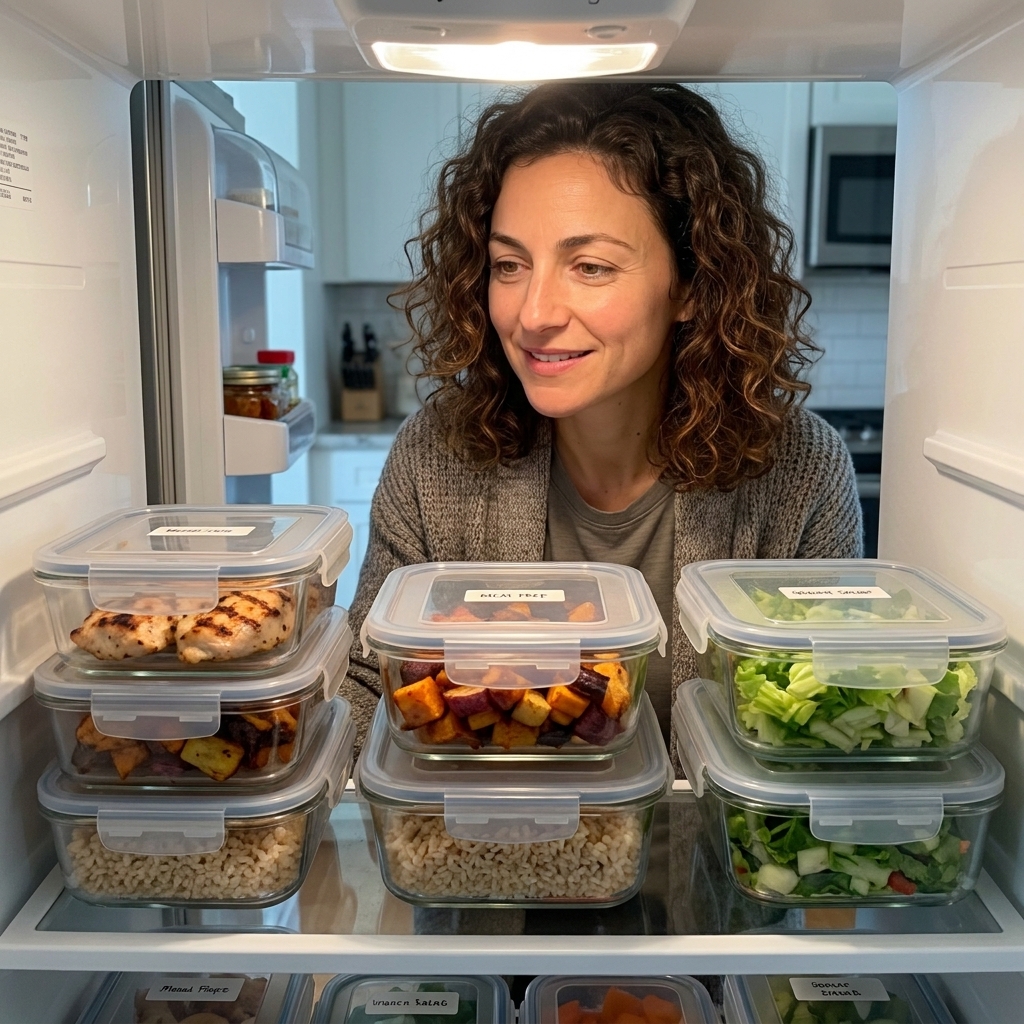
- Leakproof lids so you can confidently keep dressing separate in a small cup inside the container.
- Tall containers or jars for clear layering and keeping wet ingredients away from greens.
- Wide containers if you prefer tossing: pack components separately (greens in one, wet toppings in another), then combine at lunch.
If you use jars and hate eating out of a jar, build the jar for storage, then dump it into a bowl at lunch. You still get the crispness advantage.
Three salad builds that last
Use these like blueprints. Swap ingredients based on what you like and what is in your fridge.
1) Crunchy Mediterranean chickpea
- Bottom: lemony vinaigrette
- Barrier: chickpeas + chopped bell pepper
- Middle: chopped cucumber and cherry tomatoes (optional, keep low)
- Top: chopped romaine + shredded red cabbage
- Dry topper: feta + toasted pepitas (add pepitas at lunch)
2) Kale Caesar that lasts
- Side cup: Caesar dressing (best kept separate here)
- Bottom: cooked chicken or chickpeas (use chicken earlier in the week)
- Middle: shredded carrots + broccoli
- Top: chopped kale (very dry)
- Dry topper: parmesan + croutons (croutons at lunch)
3) Rainbow slaw bowl
- Bottom: sesame-ginger dressing
- Barrier: edamame + shredded carrots
- Middle: snap peas + bell pepper
- Top: shredded cabbage as the “green” base (ultra sturdy)
- Dry topper: cashews or sesame seeds (add at lunch)
Troubleshooting soggy salads
If the bottom turns watery
- Use fewer high-water veggies, or keep them separate.
- Skip salting ingredients until you eat. Salt pulls water out.
- Make sure cooked grains or proteins are fully cooled.
If the greens wilt even without dressing
- They are probably not dry enough. Add the towel rest and the paper towel buffer.
- Switch to romaine, kale, or cabbage for later-week salads.
- Do not pack the container too tightly.
If everything tastes muted by day three
That is often a texture issue disguised as a flavor issue. Add a crunchy element at the last second (nuts, seeds, croutons) and a bright finish (lemon wedge, fresh herbs, pickled onions packed separately). Your taste buds wake up when your salad crunches.
My Monday-to-Friday rhythm
When life is busy, I like a two-touch approach that protects texture and makes Friday realistic:
- Sunday: wash and dry greens, chop the crunch winners, cook proteins for early-week salads, portion dressings into small cups.
- Wednesday night (5 minutes): refresh any paper towels that are damp, prep one delicate ingredient for Thu-Fri (like herbs), and decide what you will cut fresh (avocado, apple). If you want a Friday salad with peak crunch, this is also a good time to prep a small second batch of greens.
This keeps the work light and the salads feeling like a choice, not a compromise.